
How to perform Cervical Gaze testing
Two additional gaze positions are now available in VisualEyes™ 525 as an option to include in your test battery. These are called the Center Body Left and Center Body Right tests. This allows clinicians to evaluate eye movements in different body positions.
Clinicians have always been able to look at eye movements in supine positions; however, we now allow for software-guided positioning for seated positions. These tests allow for the clinician to determine if the neck is contributing to abnormal eye movements or not.
This test was not added to the default VE525 protocol, as not all patient populations may benefit from this specialized oculomotor assessment.
Protocol setup
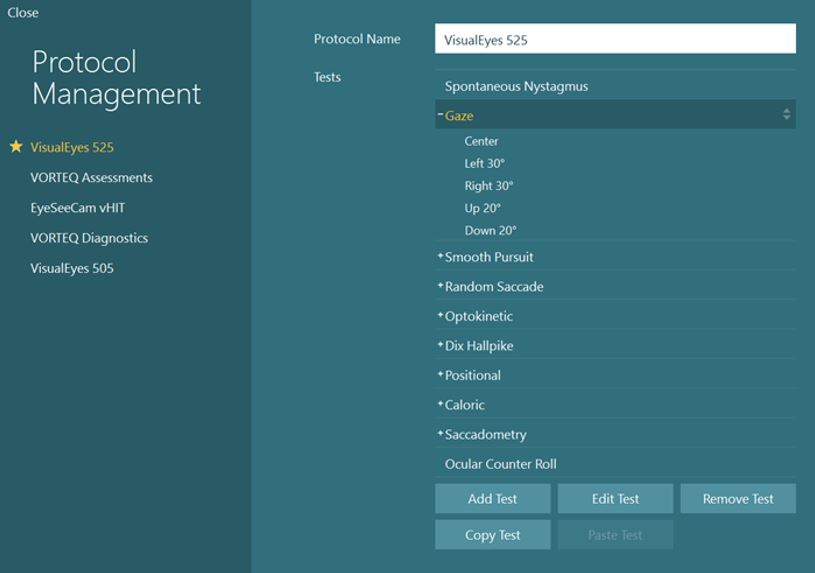
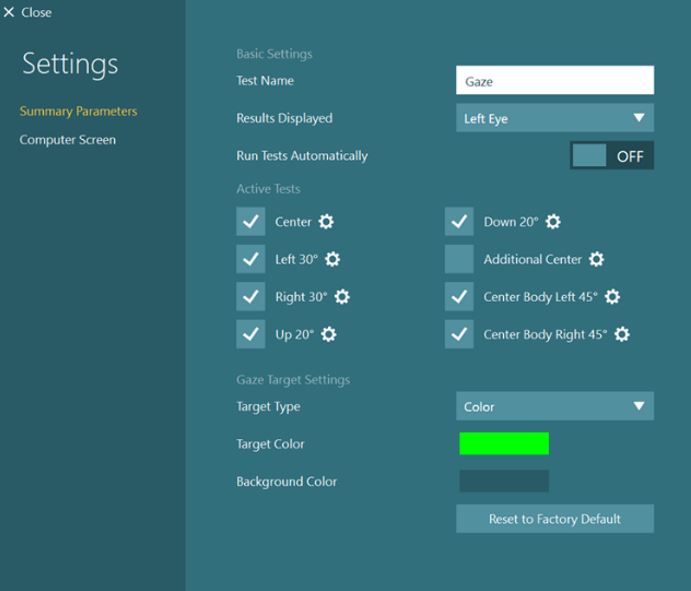
In order to add Cervical Gaze to your protocol, go to “System Default Settings” > “Protocol Management”. Click “Gaze” > “Edit Test” and choose “Center Body Left” and “Center Body Right” to add to your desired protocol. After this has been added to the protocol, you should see the Cervical Gaze sub-tests in the Gaze menu.
You can also add these tests from the Temporary Settings page in a test session.
How to perform the Cervical Gaze tests
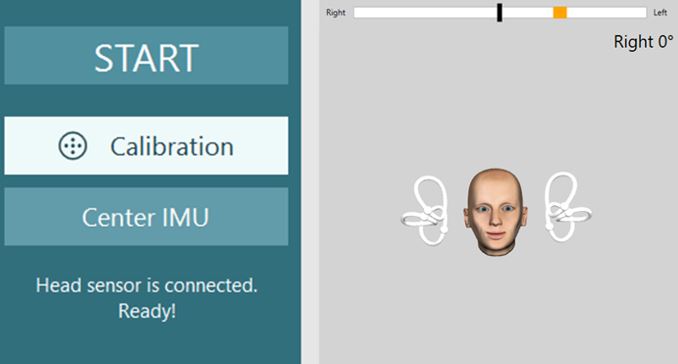
These tests utilize the VORTEQ™ sensor for positioning head and body prior to the test. Before performing the test, make sure your head sensor is on and connected.
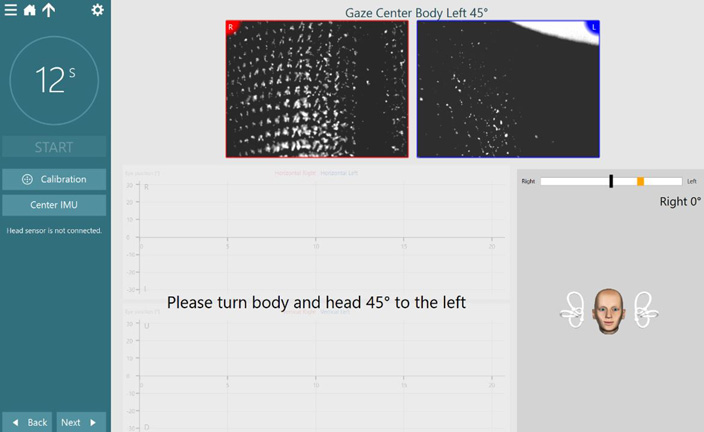
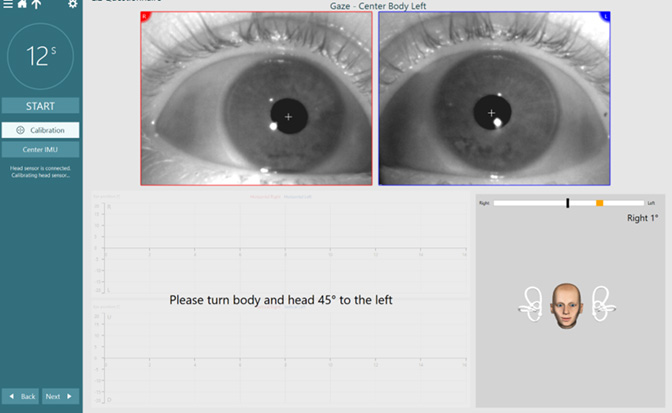
Once the patient is facing the stimulus, center the IMU so the head model is facing forward (like the patient) and the angle by the head model reads 0 degrees.
For the test, the software will instruct you to turn the patient’s head and body 45 degrees to the left. When the patient is in the correct position, the orange target bar will turn green.
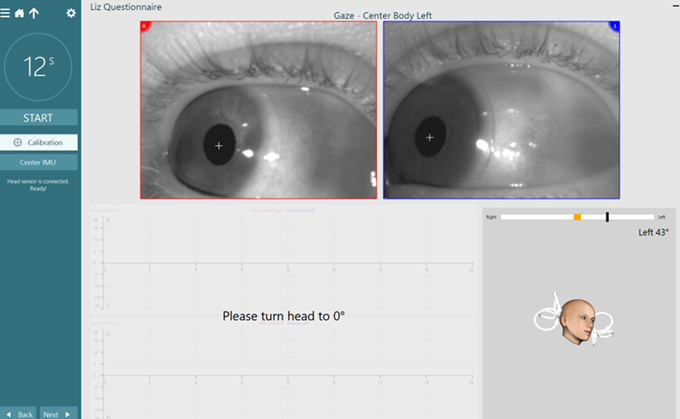
After two seconds of correct positioning, the target position will move to the 0-degree position indicating the patient’s head only should turn back to center.
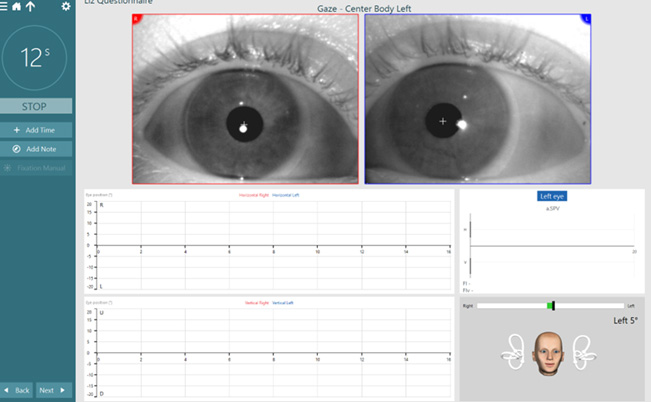
After two seconds in the 0-degree position, the test will automatically begin. The patient will be in a neck torsion position for this test while staring at the stimulus on the screen (or performing vision denied). It is recommended the test be performed vision denied.
Cervical Gaze results and exporting
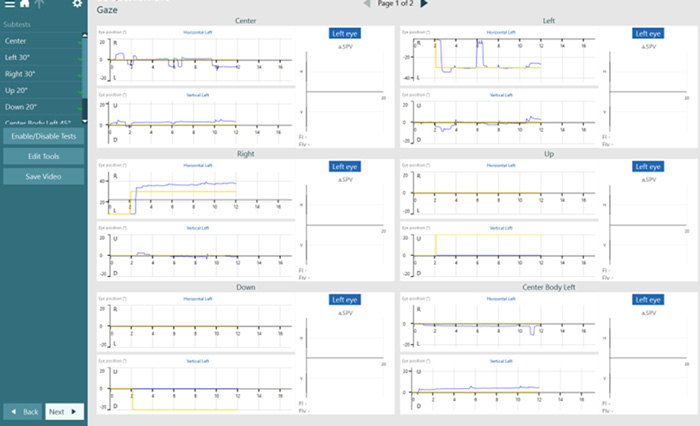
The Cervical Gaze tests will show up in your summary screen. If you perform all the tests in gaze (center, right, left, up, down, body left, and body right), the results will be split between two pages.
Tips for Research Module
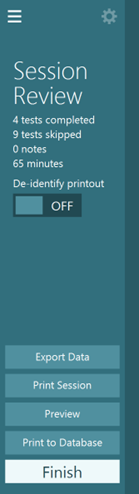
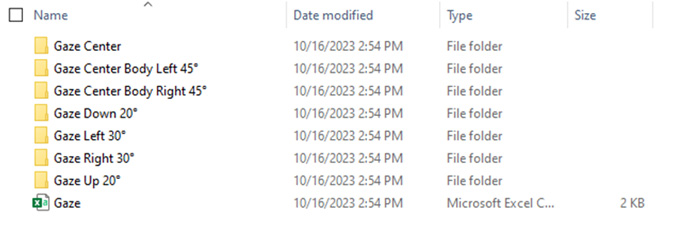
Research Module users have the ability to export excel data following the completion of a test session. Go to Session Review > Click Export Data. This will create a folder on your desktop (or in a folder of your choosing). This will export all tests and parameters into separate excel documents.
Presenter
