
Head Calibration with EyeSeeCam vHIT
Description
The calibration procedure for lateral canal calibrations has not changed and is described in the manual.
You can begin testing without calibrating by selecting a test and starting the impulses.
In this case a default calibration will be taken.
This is an acceptable solution for difficult testing situations or with challenging patients, but we still recommend that you perform a manual calibration whenever possible.
Head calibration tab
A head calibration tab is added now that allows you to calibrate the patient’s head movements before beginning the impulses.
You can click on the head calibration tab in the recording menu to begin (Figure 1).
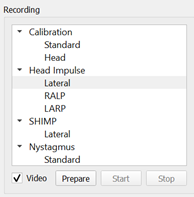
Figure 1: Head calibration tab.
Select prepare and instruct the patient.
How to instruct your patient
The head movements can be passive, where the clinician moves the patients head, or active, where the patient moves their own head.
Instruct your patient to keep his/her eyes on the target on the wall while you gently oscillate the head.
The first oscillation is around the yaw axis (like shaking your head “no”) and, after a few oscillations, around the pitch axis (like nodding your head “yes”) (Figure 2).
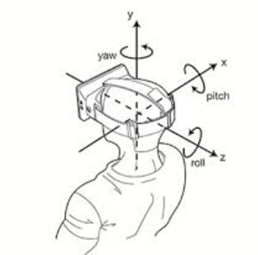
Figure 2: Yaw, pitch, and roll axes.
You can perform the head calibration by standing behind the patient and holding the head the same way as during head impulse testing of the lateral canals.
You need to perform about five sinusoidal oscillations in both yaw and pitch directions at moderate peak head velocities not exceeding 100 deg/sec.
The total duration of the head calibration is around 15 seconds.
You finish the procedure by pressing the stop button.
Calibration data
Once you have completed the calibration, you will see a graphical representation of the data (Figure 3).
The areas of interest to you are head velocity in deg/sec, eye position in degrees, and the circular plots of roll/pitch and yaw/pitch.
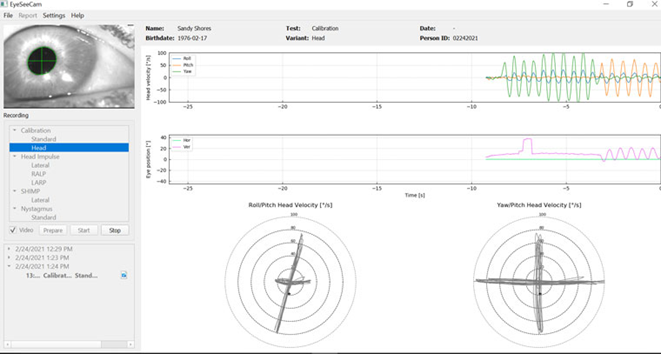
Figure 3: Calibration data.
The head calibration aligns the possibly oblique inertial sensor axes with the true earth-horizontal and earth-vertical directions.
During head calibration the Real-Time Preview shows in the upper two diagrams the head velocity and eye position over time.
Try to keep peak head velocity around 50 deg/sec, although the exact value is not important.
It is important to not exceed 100 deg/sec such that the patient can keep the eyes on the fixation target on the wall.
At head velocities exceeding 100 deg/sec, patients with a vestibular loss will not be able to keep their eyes on the target due to the limitations of the human smooth pursuit system.
The lower two polar diagrams show the head movement directions in the coordinate system of the camera‑attached inertial sensors.
From this information the calibration analysis will automatically remap the alignment of the sensors.
The Full Report for the head calibration presents the information in a similar way as the polar diagrams of the Real-Time Preview.
Although, the eye and head motions over time are not shown.
Instead, a three-dimensional representation of head movements in the earth-horizontal and earth‑vertical directions is shown together with the head movements in the possibly oblique axes of the inertial sensor.
The three polar diagrams at the bottom of the report show the head movements from three different perspectives (Figure 4).
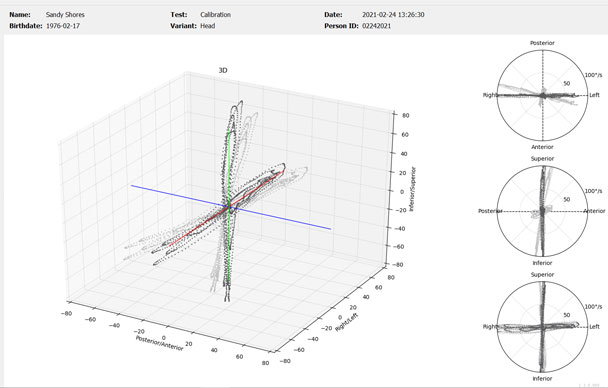
Figure 4: 3D polar diagrams.
Saving calibrations
After you have completed the head calibration, the file will automatically be stored.
If you are not satisfied with the calibration and would like to use the default calibration instead, you can select that from the report drop down menu by checking the box next to the default calibration (Figure 5). Editing head calibrations is not an option.
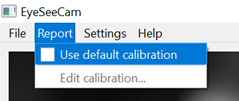
Figure 5: Default calibration option.
Presenter
