
How to perform a room setup
This quick guide provides information on how to complete a room setup in the SteamVR application for the HTC Vive Pro 2 VR headset.
It is recommended to complete a room setup at the beginning of each clinic day, when power is interrupted, if the base stations have moved, or you are experiencing tracking issues in the Virtualis software.
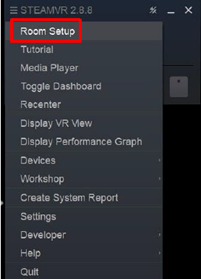
1. Click on the hamburger icon in the SteamVR application.
![]()
2. Select “Room Setup”.
3. Select the “Standing only” option.

4. Place the VR headset on the ground. If you have a MotionVR solution, place the VR headset directly on the force plate.
5. Click “Calibrate center”.
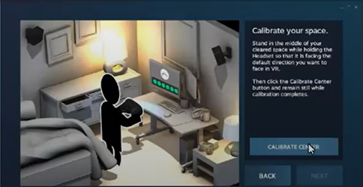
The VR headset does not need to be centered now but should be calibrated when you launch each software module by pressing the “C” key on the keyboard.
6. Click “Next”.
7. For BalanceVR, PhysioVR and StaticVR solutions, enter “0 cm” in the box, then select “Calibrate floor”.
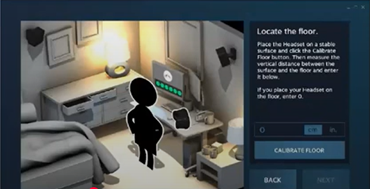
For MotionVR solutions, input “-12 cm” in the box and press “Calibrate floor”. This ensures proper calibration, as the force plate rises 12 cm when any software module is launched.
8. Click “Next”.
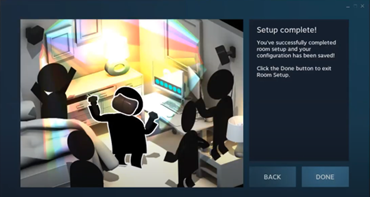
9. The room setup is now complete. Press “Done” to return to the home screen.
10. Launch the Virtualis application.
Presenter
