
How to perform the DVA Rehab module
This quick guide provides information on how to perform the DVA Rehab module on the Virtualis BalanceVR and PhysioVR solutions. For additional information, please refer to the DVA VR user manual.
Equipment needed
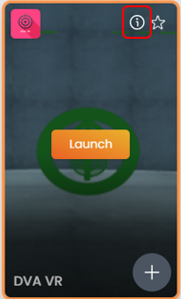
To view the equipment needed, click on the “i” icon in the upper right corner of the module.
To perform the DVA Rehab module, you will only need the VR headset.
Patient setup
Depending on the patient’s therapeutic goals, they can sit or stand to perform this module.
Test procedure
1. Open a patient profile.
2. Click on “Start a session” to access the module list.
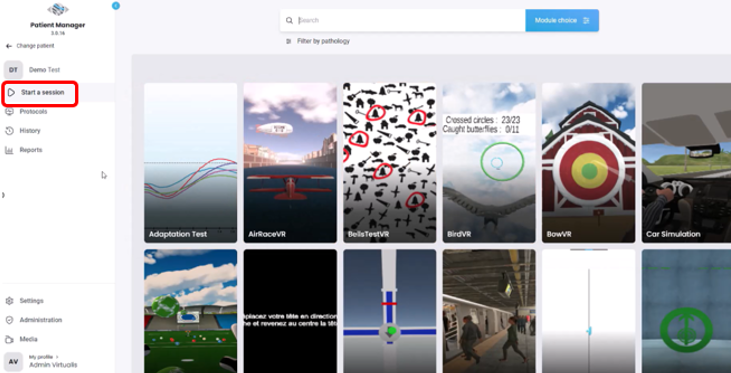
3. Type “DVA” in the search bar.
4. Click on the DVA VR button to launch the module.
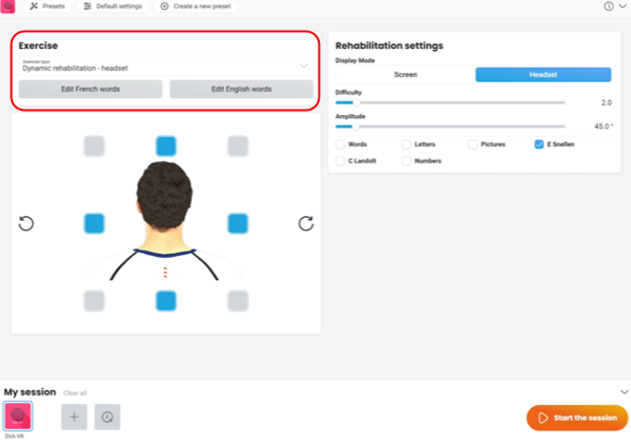
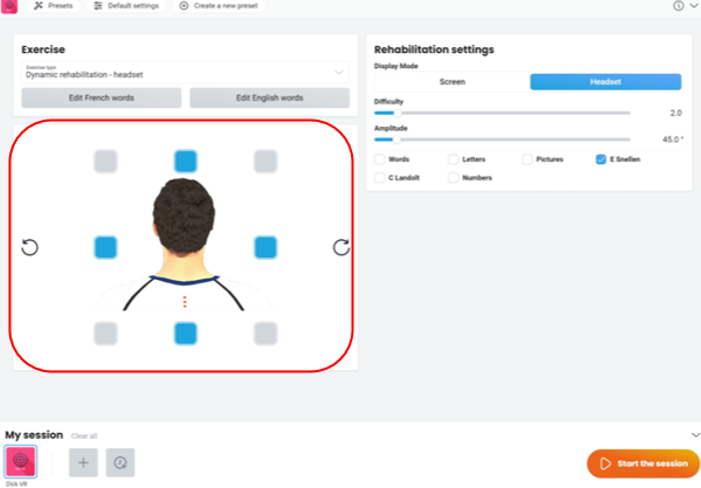
5. Under “Exercise type” select “Dynamic rehabilitation – headset”.
6. Next, select the intended settings.
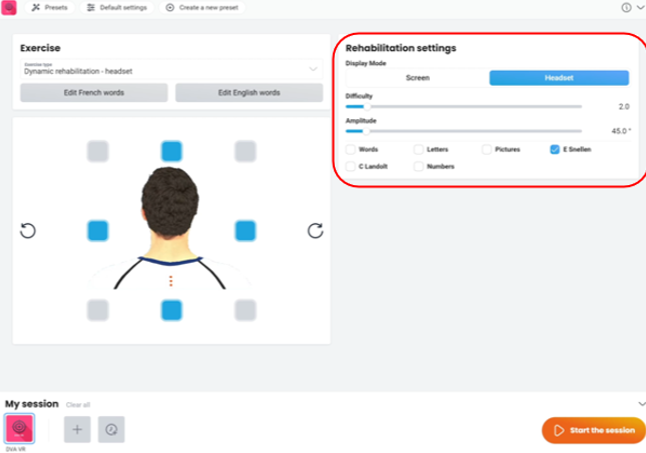
- Display mode options:
- Headset: Fully immersive option. The stimulus will appear inside the VR headset.
- Screen: A secondary screen is needed for the stimulus to appear.
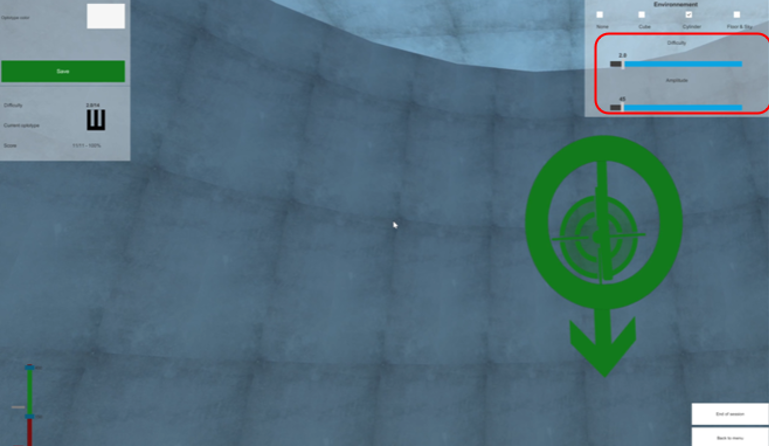
- Difficulty:
- Represents the size of the stimulus. The higher the difficulty, the smaller the stimulus size.
- Represents the size of the stimulus. The higher the difficulty, the smaller the stimulus size.
- Amplitude:
- The distance the patient will need to move their head for the stimulus to appear, represented in degrees based on the head motion selected.
- The distance the patient will need to move their head for the stimulus to appear, represented in degrees based on the head motion selected.
- Stimulus options
- Words (French or English)
- Letters
- Pictures
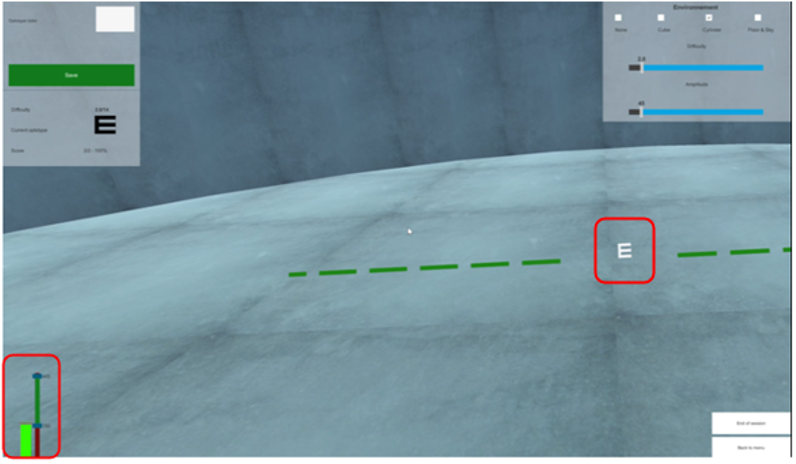
- E Snellen. This is the recommended setting.
- C Landolt
- Numbers
7. Select the planes of head movements based on the patient’s therapeutic goals.
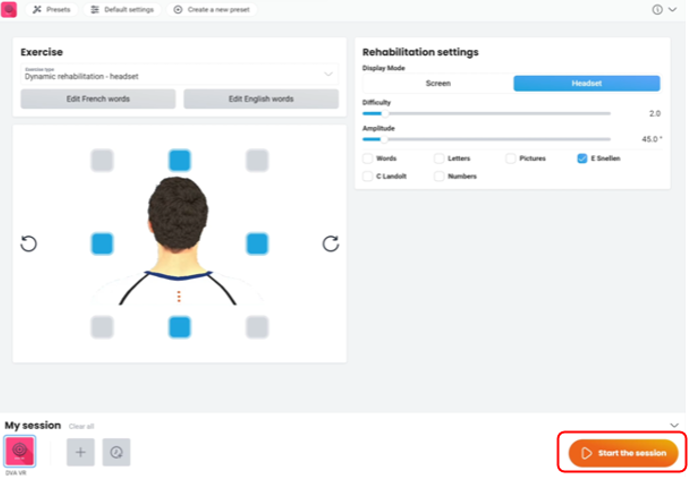
8. Once settings are selected, press “Start the session” to launch the DVA rehab module.
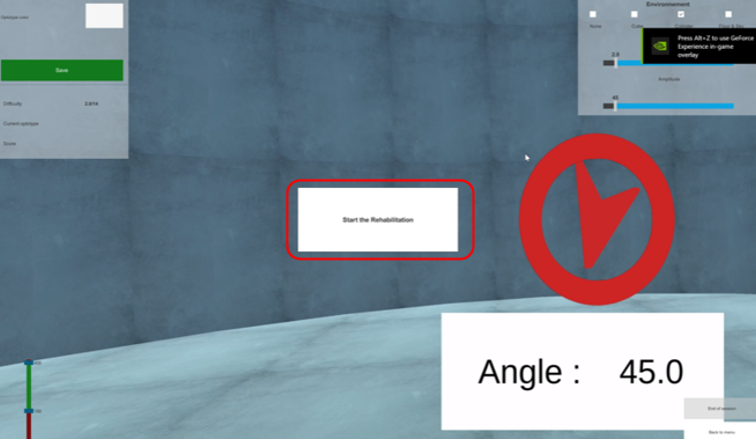
9. If using the VR headset mode, have the patient look forward and press “C” on the keyboard to center the image inside the VR headset.
10. Instruct the patient that the goal of the module is to quickly turn their head in the direction of the arrow and then state which stimulus appears. Example for “E Snellen” stimulus: Tell me which way the letter “E” is pointing: Up, down, left or right.
11. Press “Start the Rehabilitation” to begin the module.
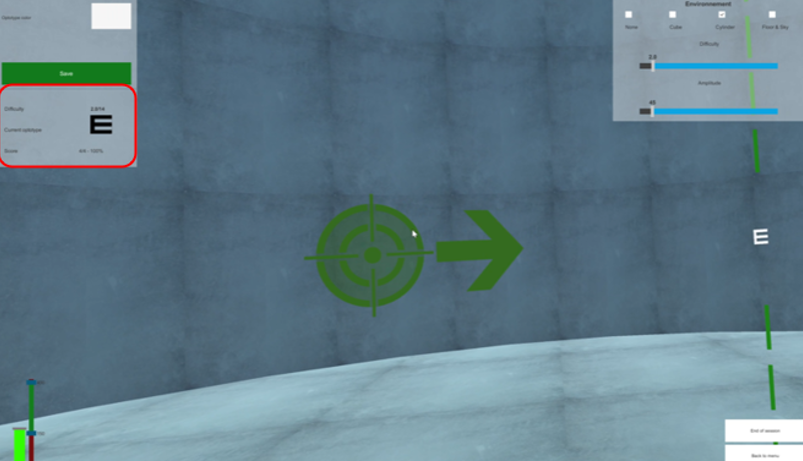
12. Instruct the patient to move their head to align the circle with the target to begin the module.
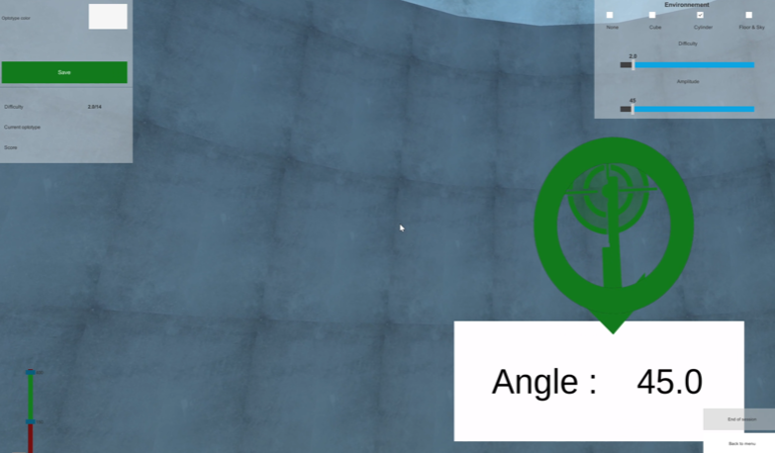
13. The patient then quickly moves their head in the direction the arrow is pointing to for the stimulus to appear.
14. The stimulus will appear if the head speed threshold is achieved.
The stimulus will not appear if the head speed threshold is not achieved.

15. The clinician can view the correct response in the upper left corner of the screen.
16. If the patient correctly identifies the stimulus, press the “enter” key on the keyboard. If the patient incorrectly identifies the stimulus, press the “backspace” key on the keyboard.
17. The next target will appear, and the patient will need to move their head to align the circle with the target. Then they will quickly move their head in the direction of the arrow.
18. To progress the level of complexity in the module, there are a few different options:
a. Increase difficulty: Decrease the size of the stimulus that appears.
b. Increase amplitude: Increase the distance the patient needs to move their head for the stimulus to appear.
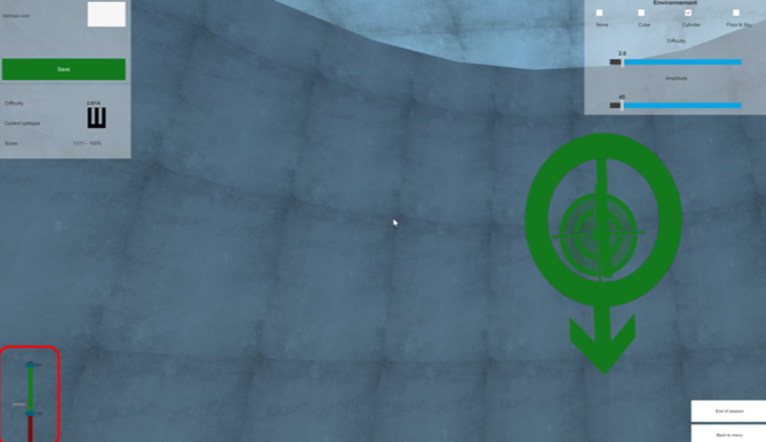
c. Increase head speed: Slide the bottom blue bar up to increase how quickly the patient needs to move their head for the stimulus to appear.
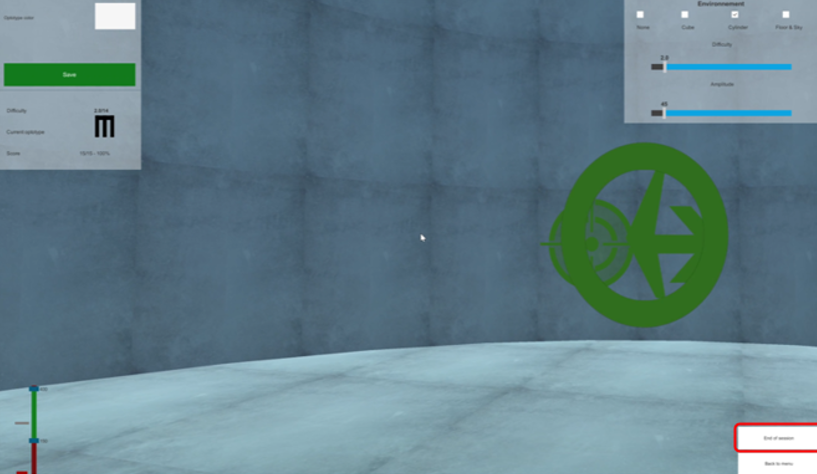
19. There is no time component to this module, so when the patient or clinician is ready to stop the module, press the “End of session” button.
20. You will see an immediate result.
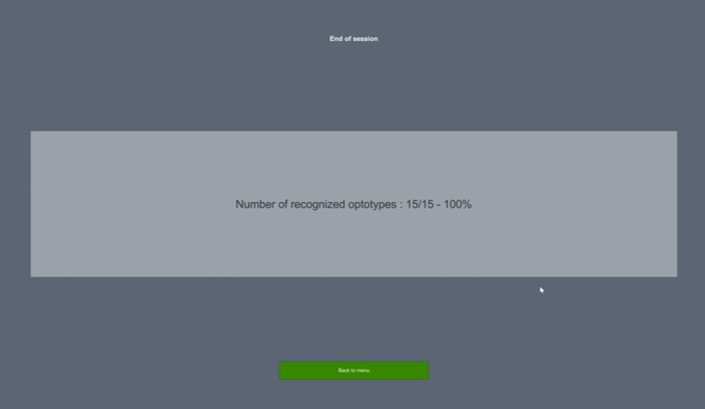
21. Press “Back to menu” to return to the “History” tab.
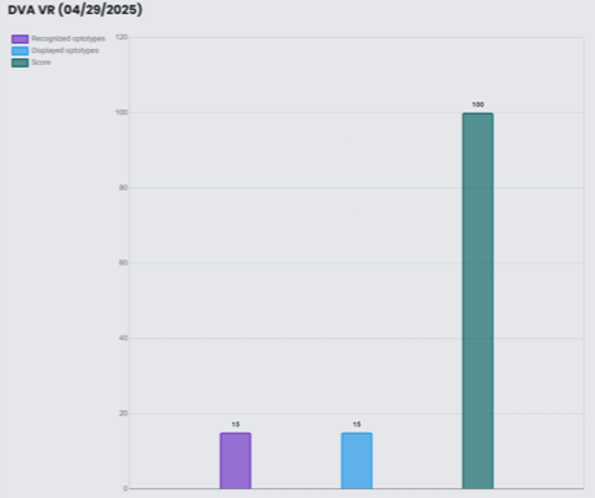
22. Click on the histogram icon to view the results.
23. Results provided are displayed in both a bar graph and radar plot. Data points include the number of correctly recognized optotypes, the number of displayed optotypes, and overall score (percentage).
Presenter
