
How to reconfigure the room boundary: HTC Vive Focus Vision VR headset
This quick guide provides information on how to reconfigure the room boundary in the HTC Vive Focus Vision VR headset.
If you need to reconfigure the room boundary you will be automatically prompted. This usually occurs when you move the location of your Virtualis solution or the room boundary was lost. If you move locations of your Virtualis solution but you are not prompted, please use the troubleshooting quick guide.
1. Turn on your VR headset. You will be prompted to reconfigure the boundary.
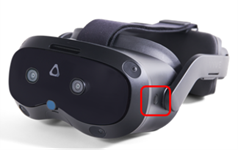
- Option 1: draw a new boundary. Briefly press the button on the left side of the VR headset.
- Option 2: the boundary was lost. Using a controller, select “OK.”
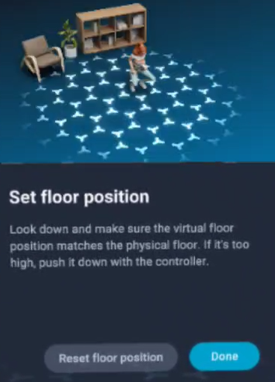
2. Check that the automatically detected floor is at the correct height. It is marked with blue symbols.
- If it is not, lower yourself and place a controller in contact with the floor to set the floor position correctly. Stand back up and select the “Done” button with the controller.
3. Next you will be prompted to draw the room boundary.
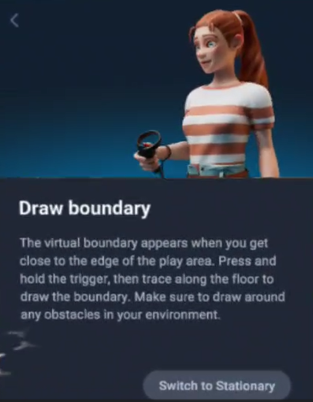
4. Point one controller at the floor, press and hold the trigger, and draw the area intended for use. The outline must be drawn in a single continuous line, and the two ends must meet. Avoid obstacles present in the room.
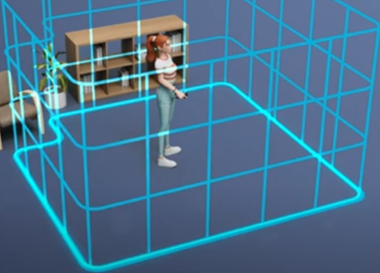
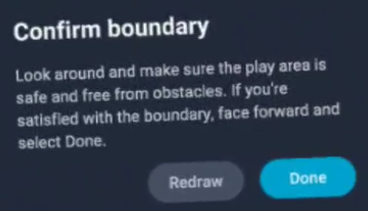
5. Once completed, a confirmation pop-up will appear. Face forward and select “Done” using the controller.
6. If you have trackers with your solution and they are on, you may see a pop up that says “Scan room.” You must first reconfigure the trackers by following the prompts in the VR headset. Please refer to the “How to Reconfigure the HTC Vive Ultimate Trackers” quick guide.
7. Remove the VR headset.
8. Launch the Virtualis application.
Presenter
