
How to set up your HTC Vive Focus Vision VR headset in the morning
This quick guide provides information on how to set up prior to your first patient session in the morning.
1. If you have a portable solution packed in a carry-on suitcase, you first need to set this up.
2. Turn on the computer and launch the VIVE business streaming app.
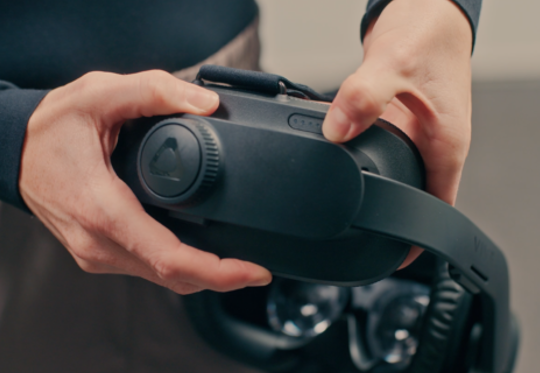
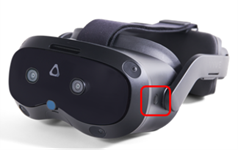
3. Turn on the headset by pressing and holding the button for 3 seconds.
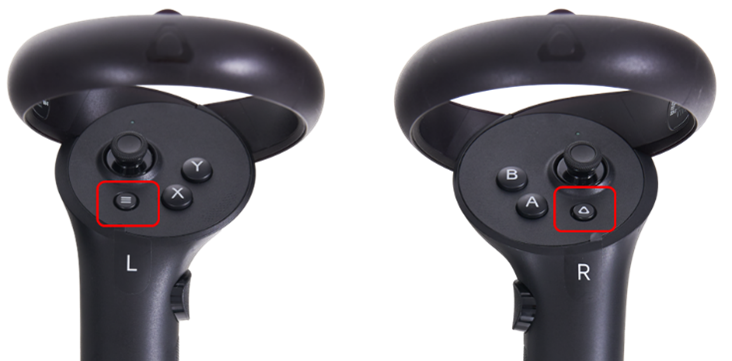
4. Turn on the hand controllers by pressing the menu buttons on both controllers.
If you are connecting wirelessly, the headset, router, and laptop must all be connected to the same Wi-Fi network. The router will display a solid red or blue light. A red light indicates that the router is functioning but does not have internet access. A blue light indicates that the router is connected to the internet. Note: Internet access is not required for the router to function.
When the connection between the laptop and headset is established, the three lines in the VIVE Business Streaming app will turn green.


5. If you are using the trackers, insert the dongle in the headset below the nose.
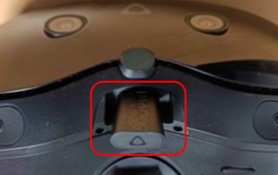
6. Turn on the trackers by pressing the top button for 1 second.
![]()
7. Put the headset on your head. The headset will automatically perform an IPD adjustment for clear vision.
8. If you have moved to a new location since the last time the Virtualis solution was used, the headset will automatically prompt you to complete the room boundary and tracker setup. If needed, refer to the separate quick guides for instructions on reconfiguring the room boundary and trackers.
9. Remove the VR headset.
10. Launch the Virtualis application, you are now ready for your first session.
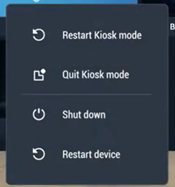
11. At the end of the day, turn off your Virtualis system and the headset. To turn off the headset, push and hold the headset button for 3 seconds. Using a controller, select “Shut down”.
Presenter
